
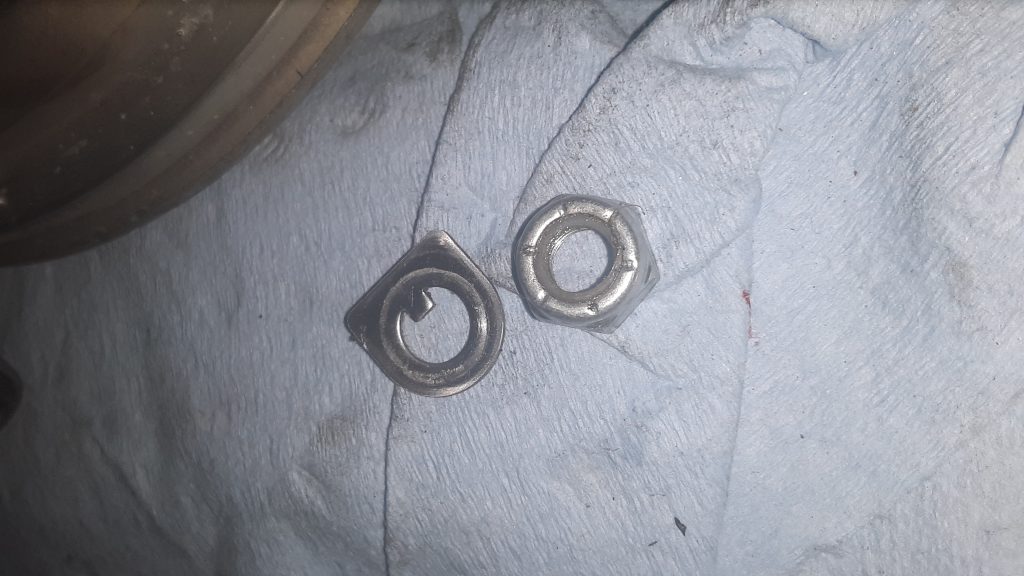
The first step (once the fan clutch has been removed from the engine) is to remove the lock nut 5310-01-194-0481 [5310011940481] and locking tab 5310-01-189-8468 [5310011898468] from the face of the cylinder assembly 2930-01-189-1744 [2930011891744].
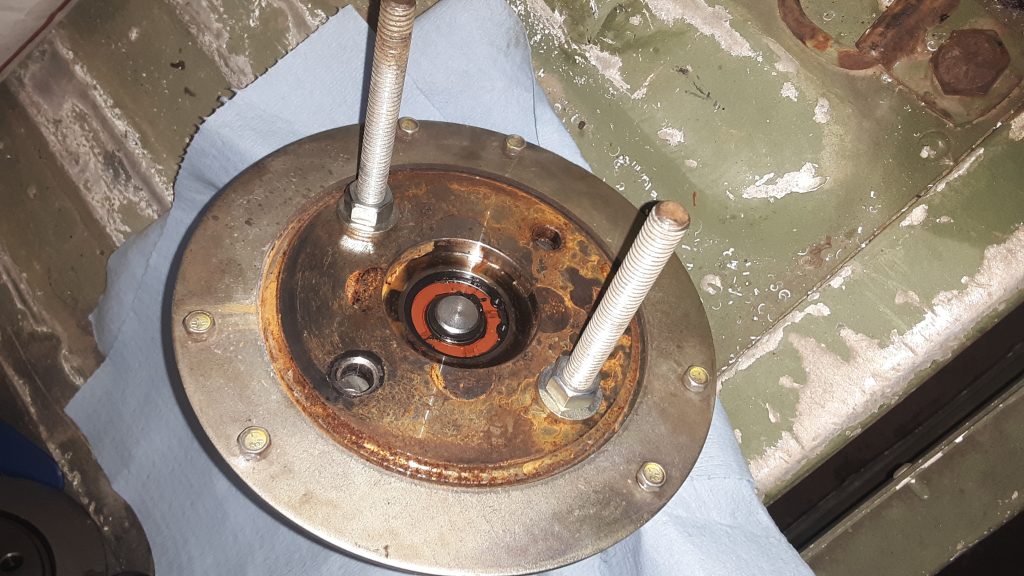
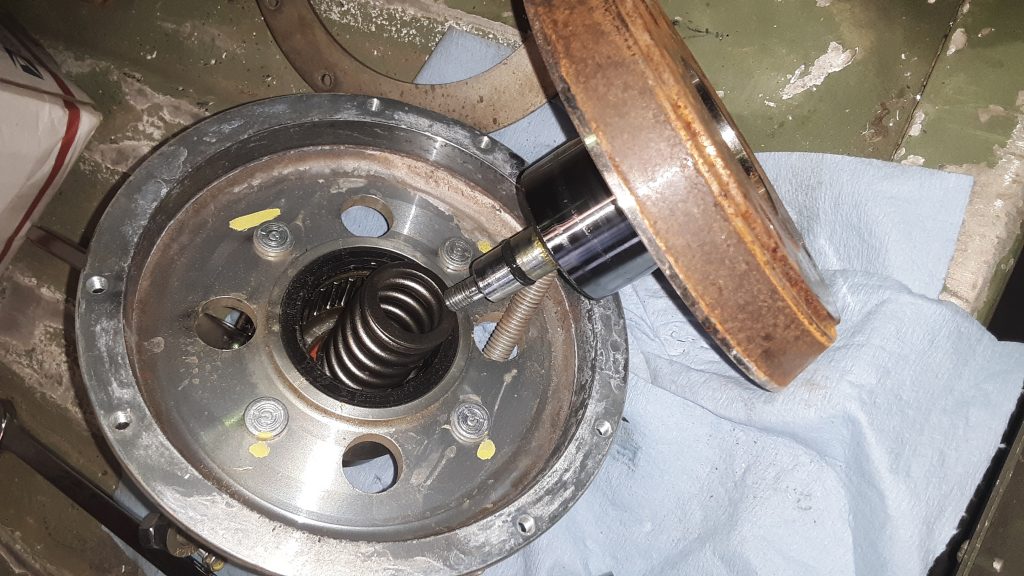
Next, install two 3/8 x 5″ (or so) bolts as shown below and tighten the shaft assembly 4079-38441-01 (no NSN) into housing assembly 4040-38442-01 (no NSN) enough to release the spring tension to remove the six capscrews 5305-00-052-6456 [5305000526456] holding the back plate on . Remove the backing plate. Do not, under any circumstance, remove the backing plate screws without a method (such as the bolts indicated in the picture) in place. There is a spring under pressure and failure to properly restrain it can lead to serious injury or even death.
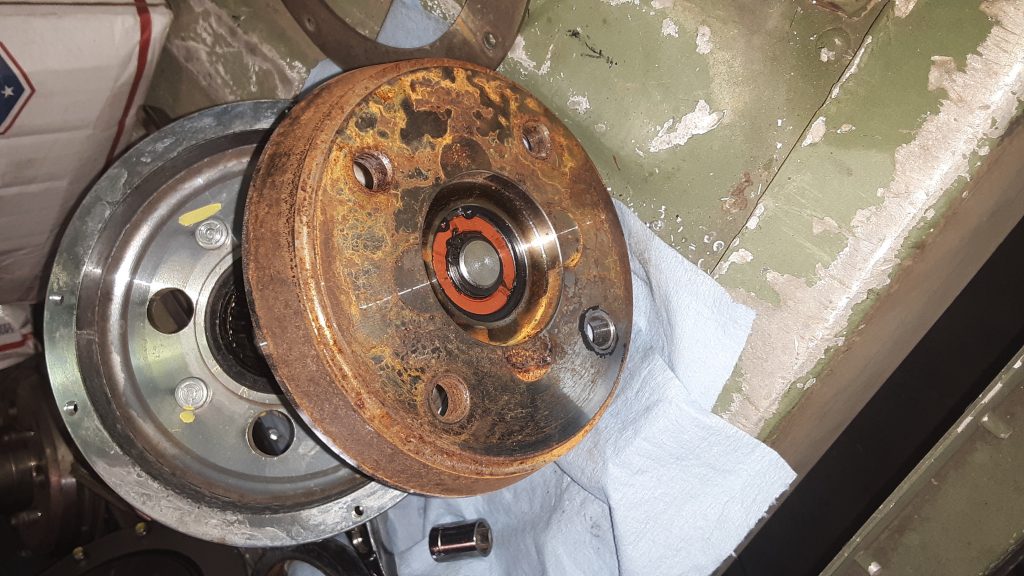
Once the backing plate is removed, the clutch lining 2930-01-189-8643 [2930011898643] can be removed. It is not uncommon to stop at this phase, if the problem was that the fan wouldn’t DIS-engage because the lining had “frozen” to the shaft assembly. If not being replaced, the lining can be cleaned up using emery cloth or similar. The clutch surface of the shaft assembly can also be polished in this manner.
Once the spring pressure is completely relieved by slowly releasing tension on the safety bolts, the safety bolts can be removed. Inspect the inner bearings as well as the Torrington-style bearing and seals. Replace any damaged parts.
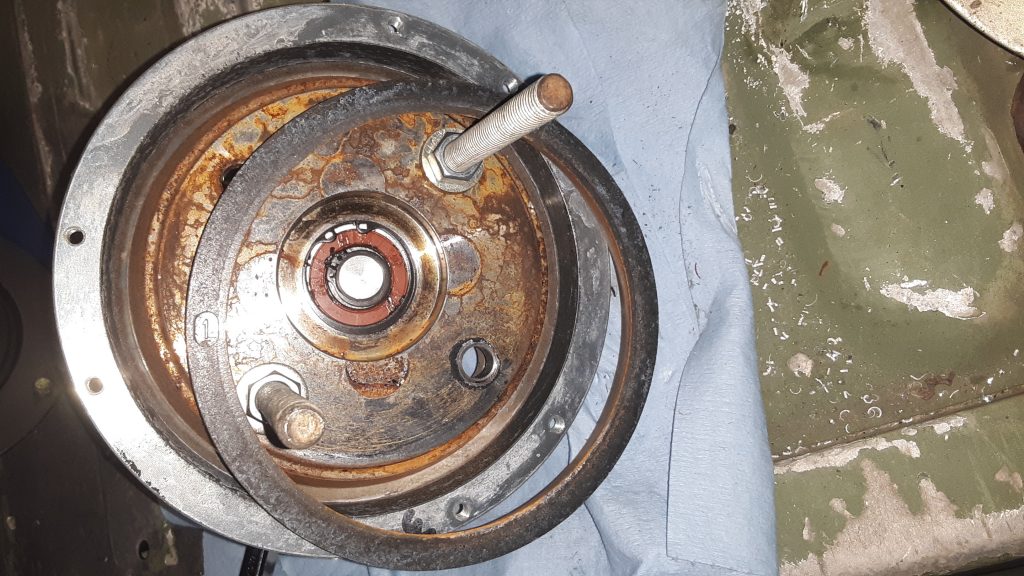
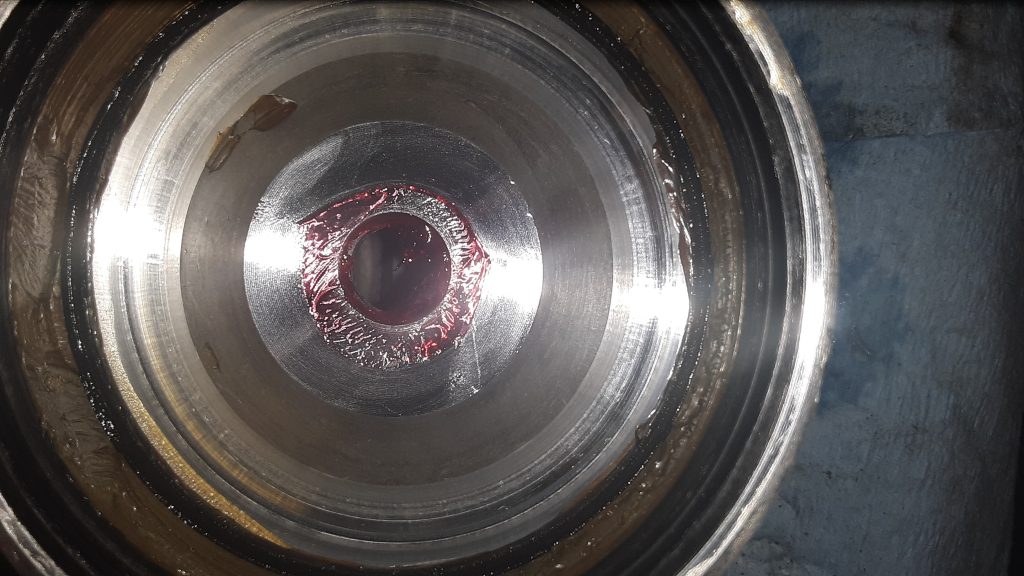
The below view shows the spring, seal and inner bearing. Ensure all O-rings are serviceable, and that the bearing surface on the shaft assembly is not damaged.
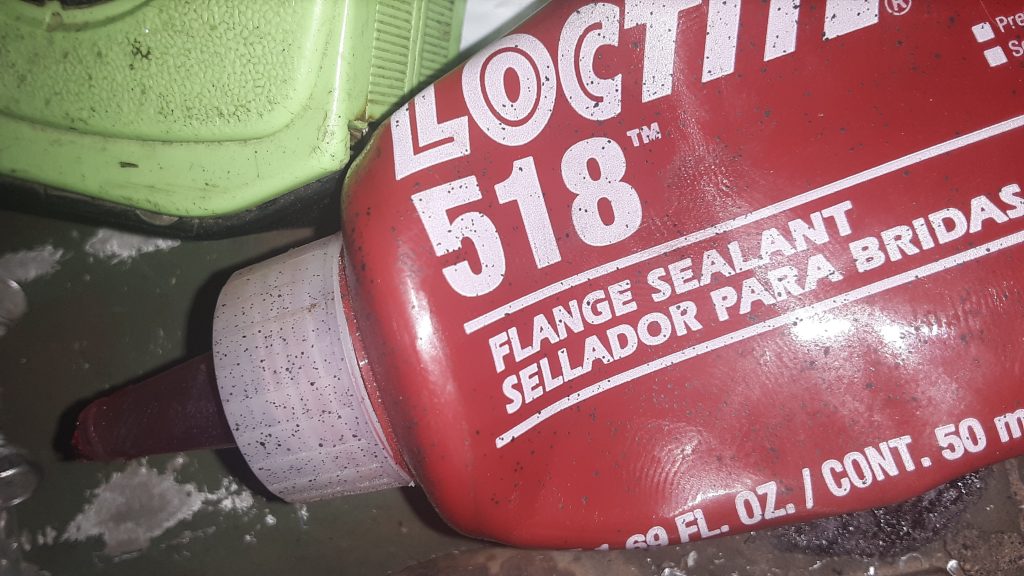
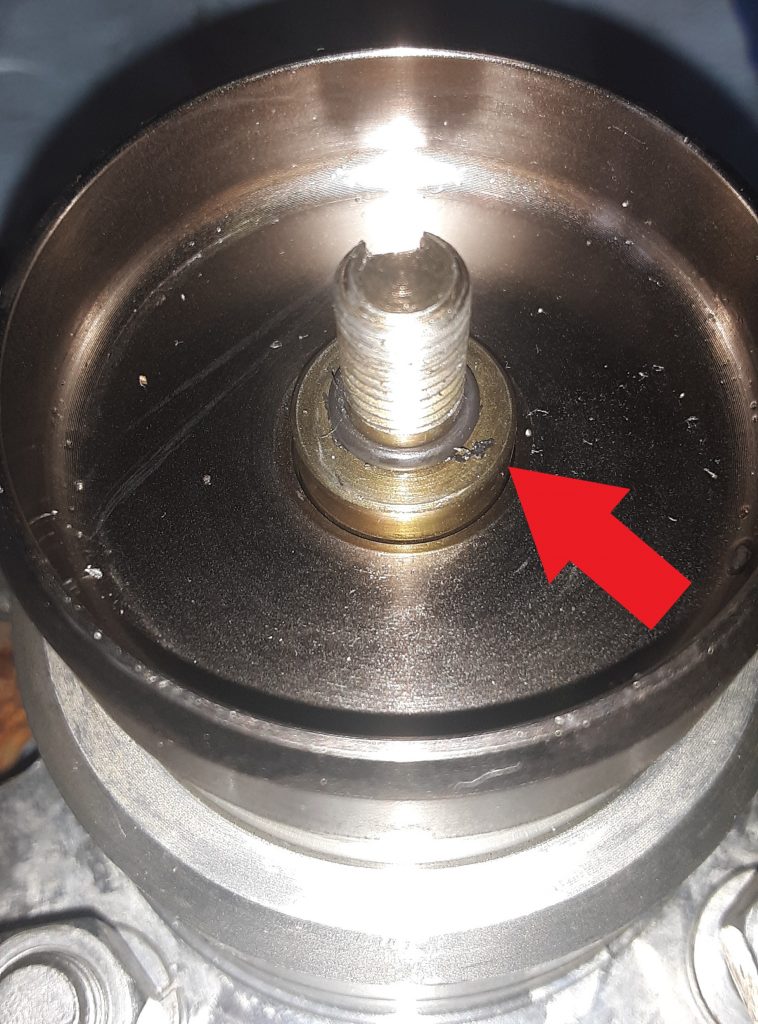
On reassembly, there is often leakage at the front O-ring, even when a new O-ring is used. Because of the likelihood of leakage, we recommend use of Loctite® 518 (or similar) on the sealing surface indicated by the Red Arrow in the picture below, as well as the corresponding location.
Reassemble the entire unit as it was disassembled. Again, Use safety precautions during reassembly because you are putting a lot of potential energy into the spring as it is tightened. Improper assembly can potentially cause serious injury or even death. If you have any doubts, please refer this to a professional or person experienced in assembling spring loaded machinery.