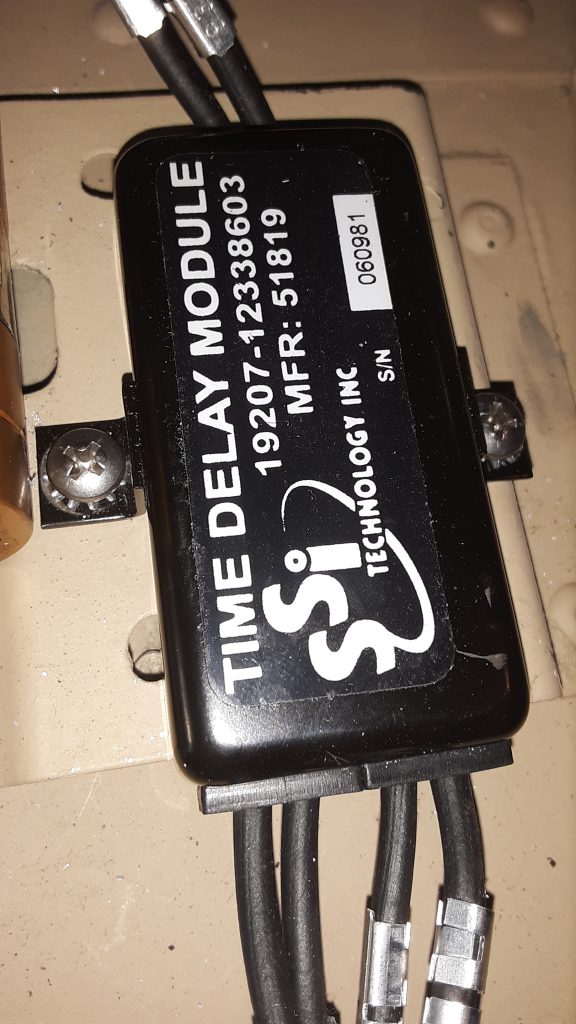
It is not uncommon, when replacing the Time Delay Module, to encounter stripped mounting holes. This is primarily because the mounting surface is aluminum, and people often overtorque the screws anyway. We attempted to use #10 sheet metal screws to mount the Module, but there was insufficient material to hold the screw.
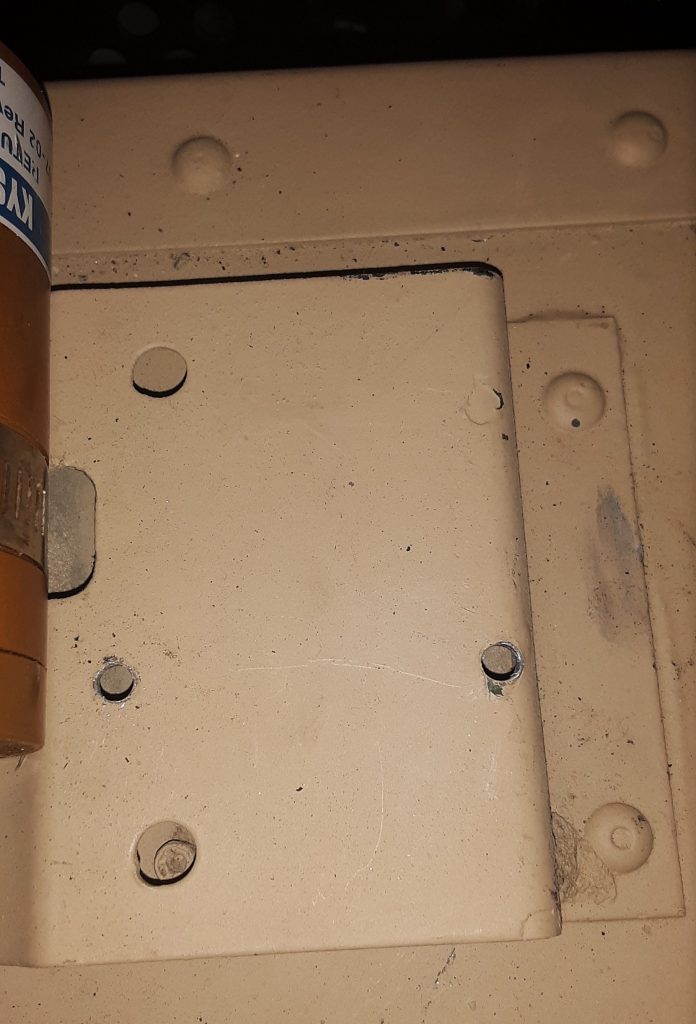
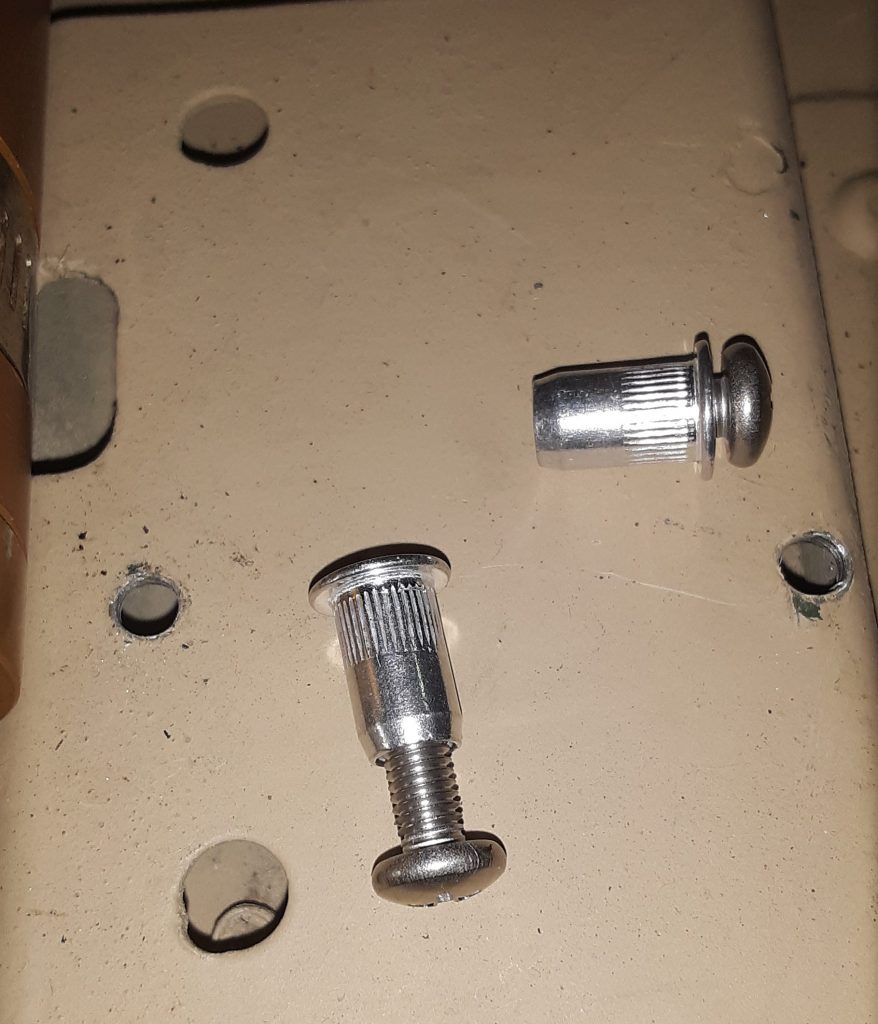
We initially attempted to use 10-32 x 1/2″ flanged screws with washers and nuts on the underside:
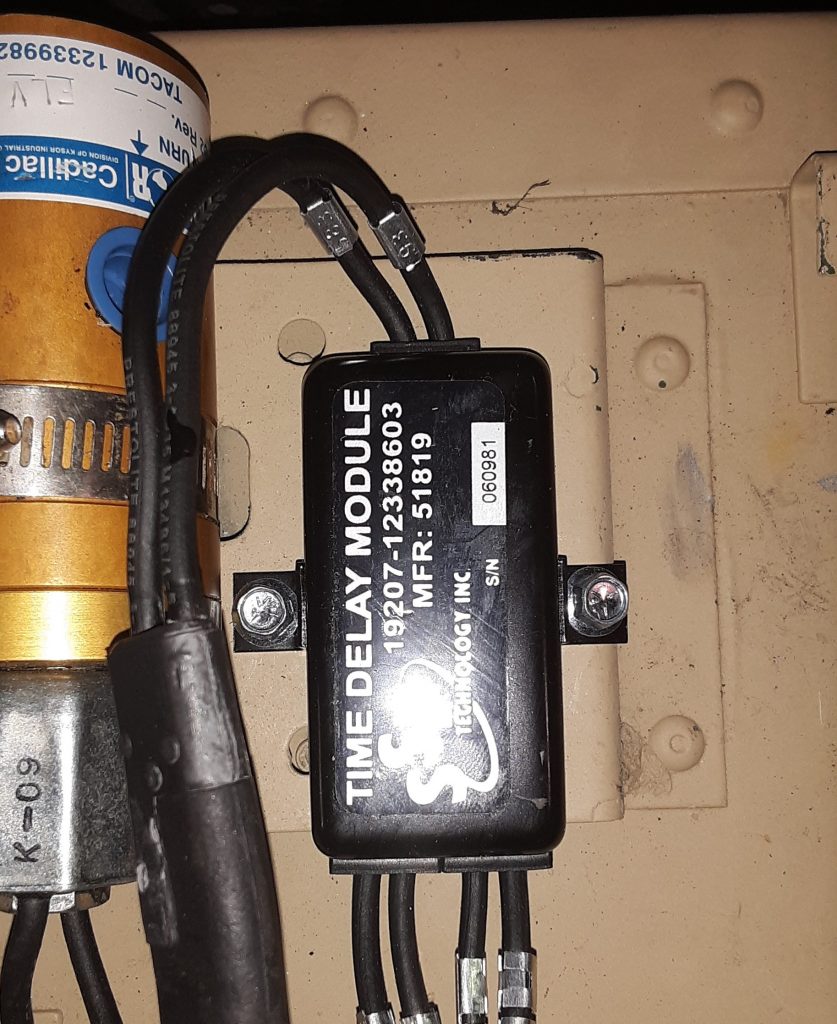
As you can see, the rearward screw cocks sideways. Although functional using the nuts on the backside, it was extremely difficult to accomplish, and would not be “user-friendly” when and if replacement was necessary. We removed the Module and decided to use rivet nuts (“nutserts”).
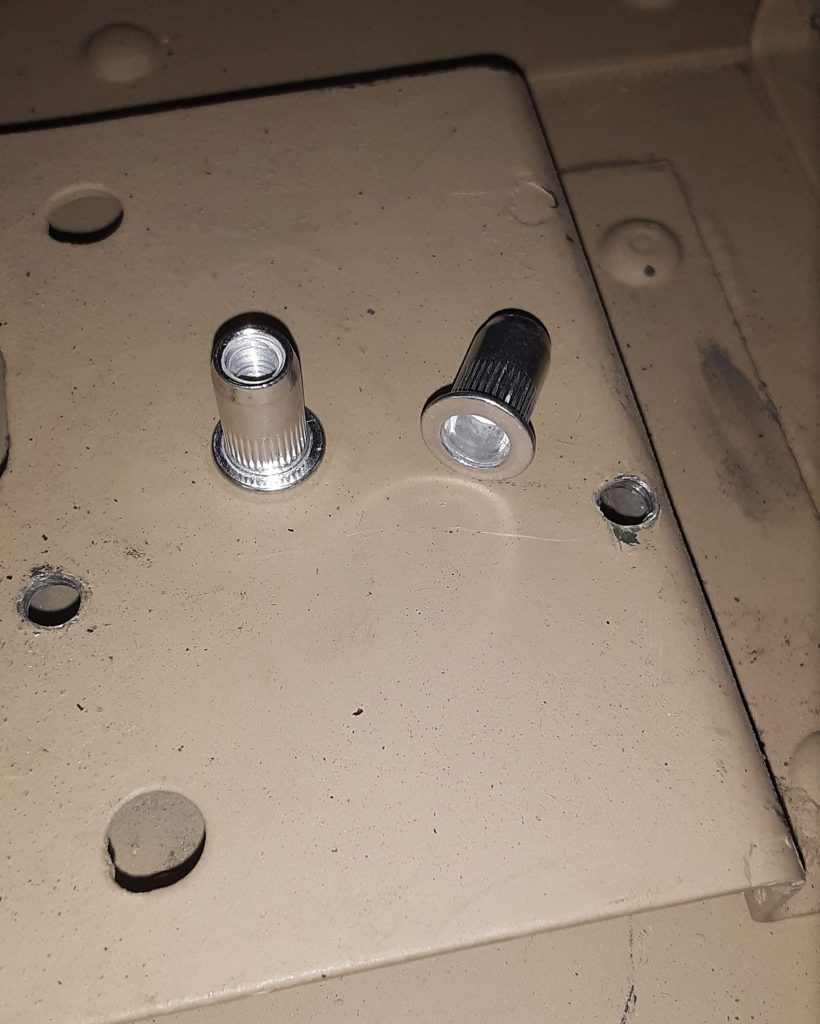
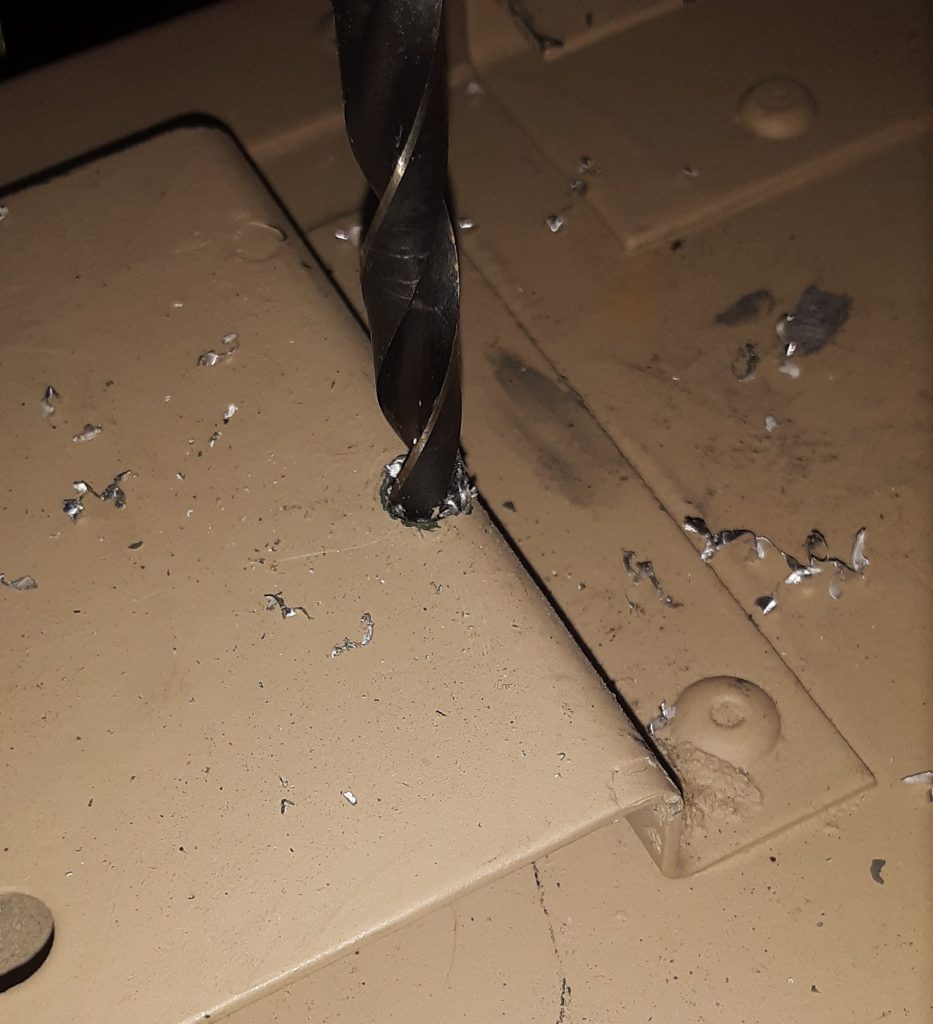
We intend to use 10-32 x 1/2″ screws, and acquired 10-32 rivet nuts intended for thin or sheet metal. The holes need to be drilled out to the outside diameter of the rivet nut.
Next, confirm the rivet nut is threaded correctly by inserting the screw into the rivet nut.
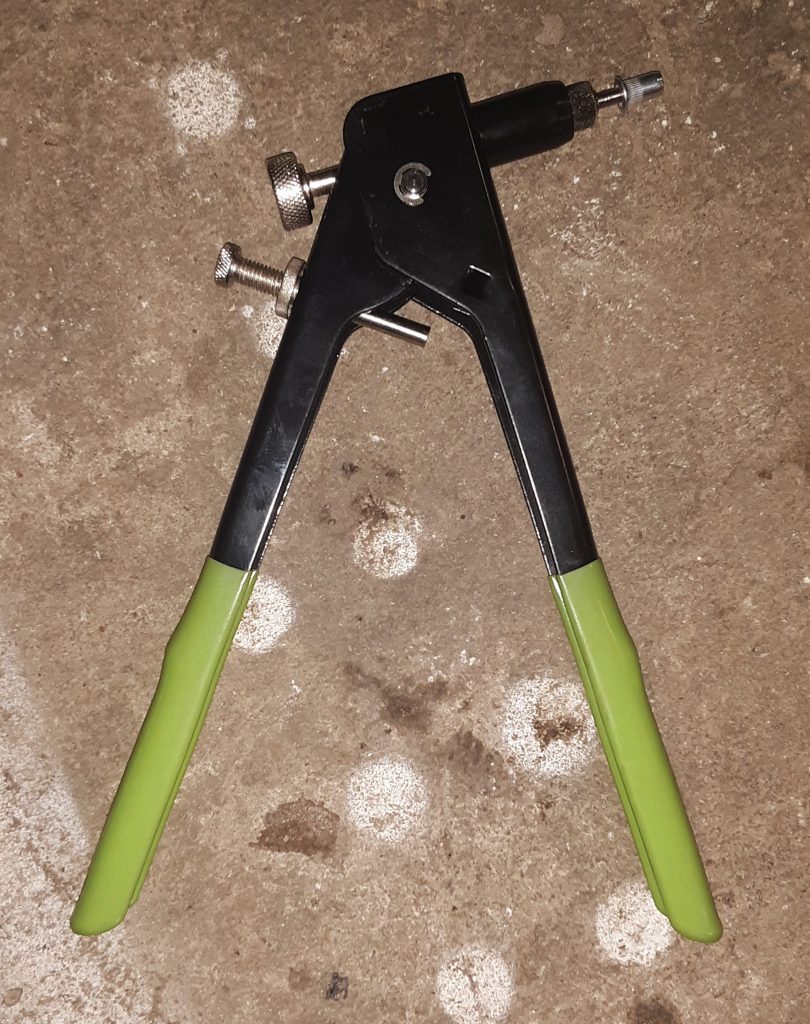
Next, thread the rivet nut onto the rivet nut gun and crimp into the drilled holes.
Once again, thread the intended screw into the crimped-in rivet nut to confirm threads are undamaged.

For final installation, we installed stainless steel screws and placed star lock washers to ensure they will not back out during operation.